
Hey there guys! Thank you for joining me for the very first Retro Repair Tips Blog! First a little introduction is in order, I suppose. My name is Cody Thomas, I'm 20 years old, and I work at a mom 'n pop video game store in my local mall, repairing and modding video game systems from the Atari 2600 and up! I've been working on video game systems and electronics in general since I was about 12 years old, so I have a few things under my belt. But enough about me, let's get to the reason you decided to read this blog!
The Nintendo Entertainment System, NES for short, was the american version of the Nintendo Family Computer, a game console made in Japan in 1983. Nintendo saw the failing video game market of the early to mid 1980's and thought that bringing the NES to America was the proper thing to do! The NES went on to save the video game market here in america, selling a huge total of over 34 million units in america alone, and nearly 62 million units world-wide! So they are pretty abundant. You may find yourself needing to repair one now, or in the future, so let's get started on my series of NES repairs, with a complete tear down and parts guide!
Let's begin! Here she is, that familiar gray box we all know and love.


The Nintendo Entertainment System, NES for short, was the american version of the Nintendo Family Computer, a game console made in Japan in 1983. Nintendo saw the failing video game market of the early to mid 1980's and thought that bringing the NES to America was the proper thing to do! The NES went on to save the video game market here in america, selling a huge total of over 34 million units in america alone, and nearly 62 million units world-wide! So they are pretty abundant. You may find yourself needing to repair one now, or in the future, so let's get started on my series of NES repairs, with a complete tear down and parts guide!
Nintendo Entertainment System
Model 1 "Toaster"
Complete Tear down
Tools Needed:
- Standard Phillips screwdriver
- Small Flat-Head screwdriver

Let's start by flipping the system over, to have a look at the underside. There will be six(6) Phillips screws for you to remove, 4 in each corner, and 2 on both the front and back centers. I have outlined these in red.

Great! So now that you've removed those screws, flip the system back over, and you should be able to remove the top half. Set it aside. Now looking into the guts of the system you will see a big metal shield that is screwed to the rest of the system. There are seven(7) Phillips screws for you to remove here, which I have outlined in Orange.

Next, turn your attention to the upper right hand corner of the case. You will be looking at the AC/RF box. This is where the system takes in the AC from the wall, and converts it to DC. Odd, I know. Most newer systems used DC Voltage from the wall adapter, but not the NES! Video also comes in from this location, so it's common for power issues, and video issues to arise from here! I have outlined the two(2) Phillips screws here in Yellow.

You're almost there! Now the only thing holding this board inside is the screws on the cartridge slot. There are a total of four(4) screws that you need to remove, but there are two different types, so I will outline the first in Green, and the Second in Light Blue.

That's it for screws holding down the motherboard, but don't pull that thing out just yet! There are three(3) connectors that will need to be removed. One connector is for the power and reset buttons, while the other two are for the controller ports. the power/reset connector I will outline in red, player 1 port will be orange, and player 2 port will be yellow.

It shouldn't take to much force to free there cables, though the power/reset cable might give you the most trouble.

Great, look what you've done, the NES is feeling all empty inside! For shame...Oh well let's take advantage of this, and continue with the tear down! Let's have a look at that motherboard...

Flip that puppy over, and remove the other shielding, like so.

You should have this:

Sweet! Check out all that techno-garbage! Flip it back over, so we can begin to remove the Cartridge slot assembly. There are two(2) more Phillips screws to remove so that you can take the lowering assembly off. I will outline them in Navy Blue.

Now all you need to do is slide the assembly forward, and lift it right off!

...

Freedom!
Now we have to get the actually 72-pin connector free from the motherboard, to complete this tear down! Just wiggle it back and forth on either side, and it should come free. It might take a bit of force!!

Once that's free, you've completely disassembled the motherboard, now to take the the case apart.
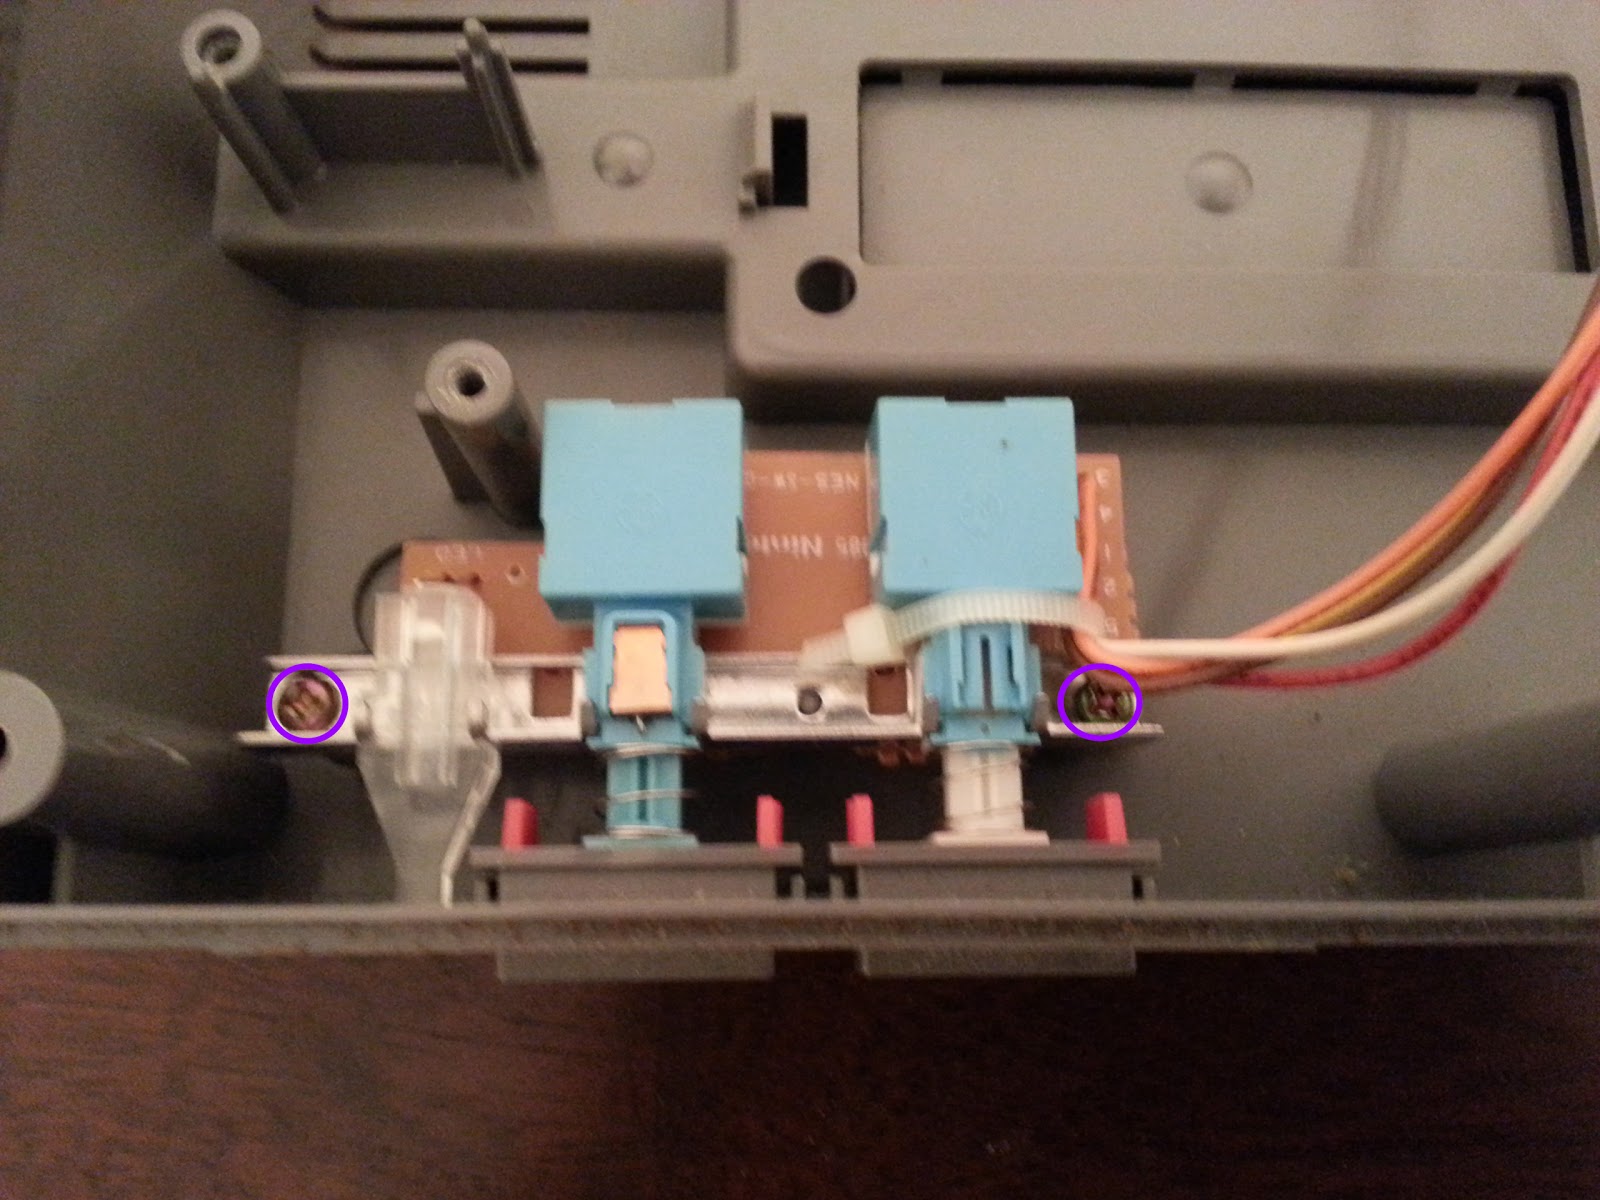
To start, you need to remove the power/reset switch. There are two(2) screws that I will outline in Violet.
Now that should pull free easily. The controller ports are next, flip the NES over, and notice the two(2) Phillips screws holding the black plastic cover on. I will outline them in pink. Remove these two screws, and the the cover should lift right off.

...flip it over...

...

You've got it! Keep in mind that the first controller port has a shorter cable than the second controller port. Last on our list is removing the cartridge slot lid. Take the top of the NES, and flip it over. You will see a set of three(3) Flat-head screws on the left bottom, and one Flat-head screw on the right bottom. Unscrew these all. I will mark them in Black.

...

...

Now Just flip the top of the NES over, and remove the black plastic cover, and the cartridge door lifts right out!

...

And with that you are completely finished! You can also remove the other black plastic cover on the back of the NES top, the same way you just removed the one in the front, but it doesn't hold anything down, so it would only be necessary if you are doing to either clean or paint the system.
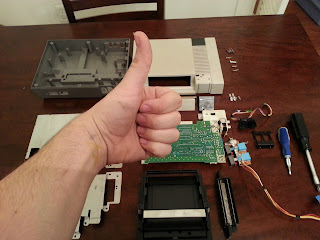
Take a look at all those parts!

Here is a hardware guide, each with their respective color, in case you don't know what goes where.

Your NES is now completely torn down!!

Thank you for reading! I hope you enjoyed this guide, and will come back and read more of my future blogs. I really enjoyed making this, and I can't wait to continue this. I am going to try to produce a blog every week. Eventually I will be moving to a video format, and this blog, and all future ones will be recorded for those TL;DR people out there. Next week I will be addressing common NES issues! Stay tuned!
-Cody
Awesome guide! Just found you through Nathan Barnatt. I don't have any reason to tear down my NES, but this guide is great. Thanks for posting!
ReplyDeleteWhy thank you! I'm glad you like my stuff! If there's ever anything you do have a reason to tear down, let me know! haha.
DeleteThank you for this. I needed to fix an issue with the game not connecting for my fiance. This helped me take it apart go I could assess and clean the whole thing. Let's hope it works!
ReplyDelete